🔐 Mastering Linux Permissions and Ownership – Secure Your System
Introduction
File permissions and ownership are critical in Linux to maintain security and control over system resources.
In this guide, we’ll cover:
✅ Understanding file permissions in Linux
✅ Changing permissions with chmod
✅ Managing ownership with chown
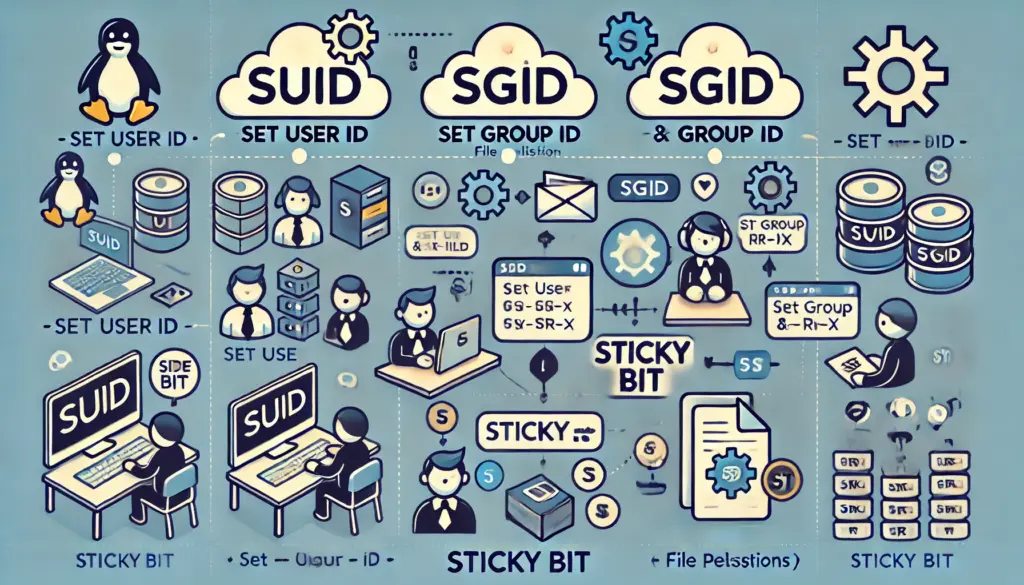
✅ Using special permissions like SUID, SGID, and Sticky Bit
By the end, you’ll be able to secure your Linux files and directories effectively.

📌 1. Understanding File Permissions in Linux
Each file and directory in Linux has three types of permissions:
| Permission | Symbol | Description |
|---|---|---|
| Read | r (4) | Allows reading the file |
| Write | w (2) | Allows modifying the file |
| Execute | x (1) | Allows running the file as a program |
Permissions are assigned to three categories:
- User (Owner) – The user who owns the file
- Group – Users in the same group as the owner
- Others – Everyone else
Checking File Permissions with ls -l
ls -l file.txt✅ Example Output:
-rwxr--r-- 1 user group 1234 Feb 6 12:00 file.txt📌 Breakdown:
rwx→ Owner (User) has read, write, execute (7)r--→ Group has read-only access (4)r--→ Others have read-only access (4)
📌 2. Changing File Permissions with chmod
chmod (change mode) modifies file permissions.
Numeric Mode in chmod
| Permission | Numeric Value |
|---|---|
r-- | 4 |
rw- | 6 |
rwx | 7 |
Example: Grant Read & Write to Owner, Read to Others
chmod 644 file.txt
✅ Sets owner = rw- (6), group = r– (4), others = r– (4)
Example: Give Full Permissions to Owner, Read-Only to Group & Others
chmod 744 script.sh✅ Owner (7) has full access, Group (4) and Others (4) have read access.
Using Symbolic Mode (+, -, =)
+→ Add permission-→ Remove permission=→ Set exact permission
Example:
chmod u+x script.sh  # Give execute permission to the owner
chmod g-w file.txt   # Remove write permission from the group
chmod o= file.txt    # Remove all permissions for others

📌 3. Managing File Ownership with chown
The chown (change owner) command modifies file ownership.
Example: Change File Owner
chown newuser file.txt✅ Now, newuser owns the file.
Example: Change Both Owner and Group
chown newuser:newgroup file.txt✅ Now, newuser owns the file, and the group is newgroup.
Example: Change Ownership Recursively
chown -R newuser:newgroup /home/newuser/✅ This changes ownership of all files inside /home/newuser/.
📌 4. Understanding Special Permissions (SUID, SGID, Sticky Bit)
1️⃣ SUID (Set User ID) – Execute as File Owner
When a file has SUID (Set User ID), it runs as the owner, not the executor.
Example: Give SUID to a Script
chmod u+s script.sh✅ When executed, script.sh will run with its owner’s permissions.
Check SUID Permissions:
ls -l script.sh✅ Output:
-rwsr-xr-x 1 root users 1234 Feb 6 12:00 script.sh📌 The s instead of x means SUID is set.
2️⃣ SGID (Set Group ID) – Execute as Group
When a directory has SGID, new files inside inherit the group of the directory.
Example: Set SGID on a Directory
chmod g+s /shared_folder✅ Now, all files created inside /shared_folder will belong to the group.
Check SGID Permissions:
ls -ld /shared_folder✅ Output:
drwxr-sr-x 2 user group 4096 Feb 6 12:00 /shared_folder📌 The s means SGID is set.
3️⃣ Sticky Bit – Prevent Deletion by Others
When a directory has a Sticky Bit, only the owner can delete files inside.
Example: Enable Sticky Bit on /tmp Directory
chmod +t /tmp✅ Now, only the file owner can delete files in /tmp.
Check Sticky Bit Permissions:
ls -ld /tmp✅ Output:
drwxrwxrwt 10 root root 4096 Feb 6 12:00 /tmp📌 The t at the end means Sticky Bit is set.

📌 5. Real-World Use Cases for Permissions
📍 Use Case 1: Secure a Website Directory
Only the web server should modify website files:
chown -R www-data:www-data /var/www/html
chmod -R 755 /var/www/html
✅ Web server can modify files, users can read but not edit.
📍 Use Case 2: Shared Work Directory for Teams
Allow team members to collaborate on files:
chown -R :teamgroup /project
chmod -R 2775 /project
✅ SGID (2) ensures files inherit the teamgroup.
📍 Use Case 3: Protect Sensitive User Data
Ensure only the owner can access personal files:
chmod -R 700 /home/user/private✅ No one else can read, write, or execute files.
🎯 Final Thoughts
Understanding permissions and ownership is essential for securing your Linux system. Now you can confidently manage file security and prevent unauthorized access.
💡 Next Blog: Mastering Linux Networking – Essential Commands & Configuration
Learn More:
Common Challenges in Incident Management
Essential Technical Skills for Aspiring Incident Managers
Understanding the ITIL Framework for Incident Management
Key Roles and Responsibilities in Incident Management
📌 Call to Action (CTA)
💬 Have you encountered permission issues before? Share your experience!
🔔 Follow TechNops.com for more Linux tutorials!


