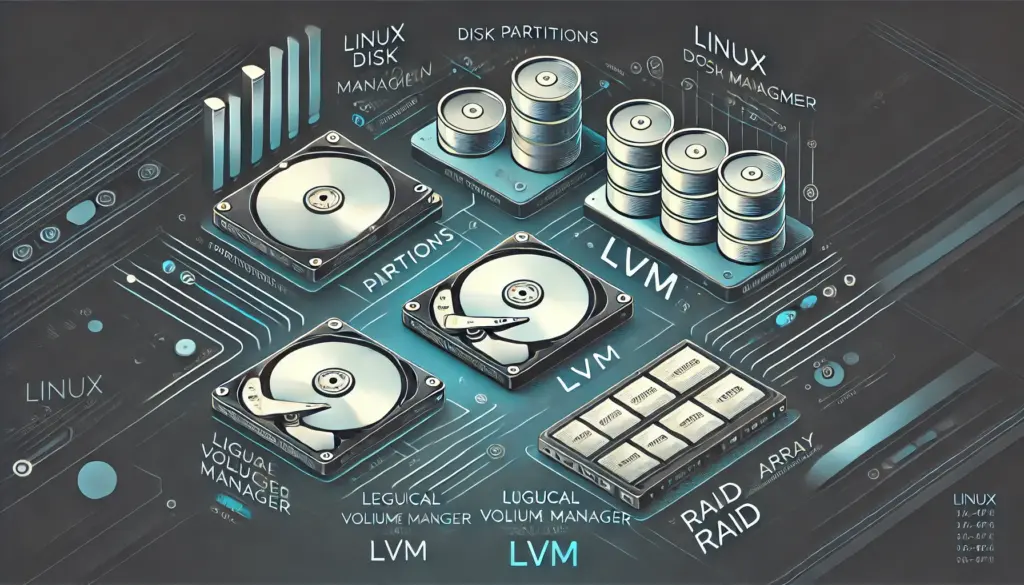
Linux Disk Management – Partitions, LVM, and RAID
🔹 Introduction
Linux Disk Management: Effective disk management is crucial for optimizing performance, ensuring data integrity, and managing storage efficiently in Linux. Whether setting up new disks, expanding storage, or implementing redundancy, mastering partitions, LVM, and RAID is essential for Linux administrators.
In this comprehensive guide, we will cover:
- Linux disk partitions – Creating, formatting, and mounting partitions.
- Logical Volume Manager (LVM) – Flexible storage management.
- RAID (Redundant Array of Independent Disks) – Data redundancy and performance enhancement.
- Essential commands for managing disks and troubleshooting issues.
By the end of this guide, you’ll be proficient in managing Linux storage like a pro. Let’s dive in! 🚀

🖥️ Understanding Linux Disk Partitions
Linux disk partitions divide a physical storage device (like a hard drive or SSD) into logical sections, each with a specific purpose—think of it as slicing a pizza for organization. Represented as files (e.g., /dev/sda1), partitions help manage storage by separating system files, user data, or swap space. They’re defined in a partition table (MBR or GPT) and formatted with filesystems like ext4.
Why use them? Partitions organize data, enhance safety (isolating corruption), boost performance, and enable multi-boot setups. Types include primary, extended, logical, and swap, with tools like fdisk or GParted used to create them. For example, on a 500GB drive, you might make a 100GB partition with fdisk, format it, and mount it to /mnt/myfiles.
Limitations? Partitions are static—resizing is tricky—and can waste space if misplanned. Tools like LVM address this. Tips: Plan ahead, label partitions, back up data, and use lsblk to check layouts.
In short, partitions are the bedrock of Linux storage—simple, reliable, and a starting point for more advanced setups.
A partition is a logical division of a disk that allows you to organize and manage data separately. Linux supports different partitioning schemes, including MBR (Master Boot Record) and GPT (GUID Partition Table).
🔹 Viewing Disk Information
To list all available disks and partitions, use:
lsblkFor more detailed disk information:
sudo fdisk -l🔹 Creating a New Partition
To create a partition using fdisk:
sudo fdisk /dev/sdX # Replace X with the disk letterInside fdisk, use:
- Press n to create a new partition.
- Select the partition type (Primary/Extended).
- Define the partition size.
- Press w to save and exit.
🔹 Formatting the Partition
Once created, format the partition with a filesystem:
sudo mkfs.ext4 /dev/sdX1🔹 Mounting the Partition
To use the new partition, create a mount point and mount it:
sudo mkdir /mnt/newdisk
sudo mount /dev/sdX1 /mnt/newdisk
To make it permanent, add the following entry to /etc/fstab:
/dev/sdX1 /mnt/newdisk ext4 defaults 0 2🛠️ Logical Volume Manager (LVM)
LVM provides flexible and scalable disk management by allowing dynamic resizing of storage volumes.
🔹 Understanding LVM Components
- Physical Volume (PV): The actual hard disk or partition.
- Volume Group (VG): A collection of physical volumes.
- Logical Volume (LV): Virtual storage partitions inside a volume group.
🔹 Creating LVM Setup
1. Initialize Physical Volumes
sudo pvcreate /dev/sdX12. Create a Volume Group
sudo vgcreate my_vg /dev/sdX13. Create a Logical Volume
sudo lvcreate -L 10G -n my_lv my_vg4. Format and Mount the Logical Volume
sudo mkfs.ext4 /dev/my_vg/my_lv
sudo mount /dev/my_vg/my_lv /mnt/lvm_disk
To make it permanent, update /etc/fstab:
/dev/my_vg/my_lv /mnt/lvm_disk ext4 defaults 0 2🔹 Expanding LVM Volumes
1. Extend Logical Volume
sudo lvextend -L +5G /dev/my_vg/my_lv2. Resize the Filesystem
For ext4 filesystem:
sudo resize2fs /dev/my_vg/my_lvFor XFS filesystem:
sudo xfs_growfs /dev/my_vg/my_lv🔄 RAID (Redundant Array of Independent Disks)
RAID is used to improve performance, redundancy, or both. There are multiple RAID levels:
- RAID 0 (Striping) – Improved speed, no redundancy.
- RAID 1 (Mirroring) – Data duplication for redundancy.
- RAID 5 (Striping + Parity) – Fault tolerance with distributed parity.
- RAID 10 (Mirrored Stripes) – Combines RAID 1 and 0 benefits.
🔹 Installing RAID Tools
sudo apt install mdadm  # For Debian/Ubuntu
sudo yum install mdadm  # For CentOS/RHEL
🔹 Creating a RAID 1 Array
sudo mdadm --create --verbose /dev/md0 --level=1 --raid-devices=2 /dev/sdX /dev/sdYFormat and mount the RAID array:
sudo mkfs.ext4 /dev/md0
sudo mount /dev/md0 /mnt/raid_disk
🔹 Checking RAID Status
cat /proc/mdstat
sudo mdadm --detail /dev/md0
🔹 Adding RAID to Boot
Save the RAID configuration:
sudo mdadm --detail --scan >> /etc/mdadm/mdadm.conf🔍 Troubleshooting Disk Issues
🔹 Check Disk Space Usage
df -h🔹 Check Disk Health
sudo smartctl -a /dev/sdX🔹 Repair a Filesystem
sudo fsck -y /dev/sdX1📌 Summary
- You learned partitioning, formatting, and mounting disks in Linux.
- You explored LVM for flexible storage management.
- You configured RAID for redundancy and performance.
- You now know essential disk troubleshooting techniques.
🚀 Next Blog (Feb 16, 2025): Linux File System Explained – Ext4, XFS, Btrfs, and More
📚 Learn More:
💬 Have questions? Drop them in the comments below!


